How to optimize an Article with content properties
This is a step-by-step guide on how to optimize an article in Sportal365.
The article properties offered in the Sportal365 CMS serve as features designed to visually enrich the look of an article on your website and optimize it for search engines.
On this page, you’ll learn the steps to optimizing articles with the content properties in the system.
Optimizing an article
Follow the steps below to learn how to optimize the articles you create. Here’s how:
-
From the main navigation, select All Articles.

2. When the article listing screen opens, open the article you want to optimize:

3. Go to the content properties in the right corner of your screen once inside the article. Use the tabs with properties to optimize your article - General, Media, Content Footer, Tags, Related content, SEO, URLs, Lists, and Custom data.
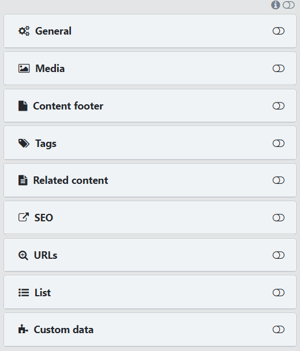
General Tab
The General tab lets you select category(ies), author(s), status, properties, type, published from/until, and origin. To optimize your article’s General tab:
-
Expand the General tab.

2. Select a main category from the Categories drop-down box.

Remember that selecting the main category is mandatory for creating an article.
3. To add an additional category, select the Additional Categories box.
4. Next, open the Author box and select the author you wish.

5. If you want to add a custom author, enter the author in the Custom Author box.
6. To set the status of your article, go to the Status box and select from the options Active/Inactive.

7. To select article properties and type, go to Properties and Type and choose from the options.
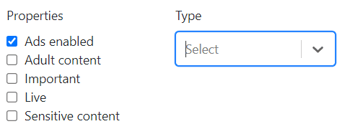
8. If you want to set a period for your article to be active on your website, enter the desired dates in the Published From / Published Until boxes.

9. Origin is used to indicate the source of the article.

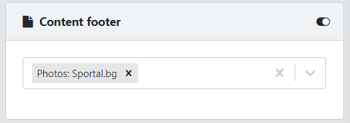
Content footer
The Content footer tab is where you select the origin of the images you use in your article.
Media Tab
The Media tab is where you upload the main media for your articles. The main media could be an image, video, or gallery.
To optimize your article’s media:
-
Expand the Media tab to select article media.
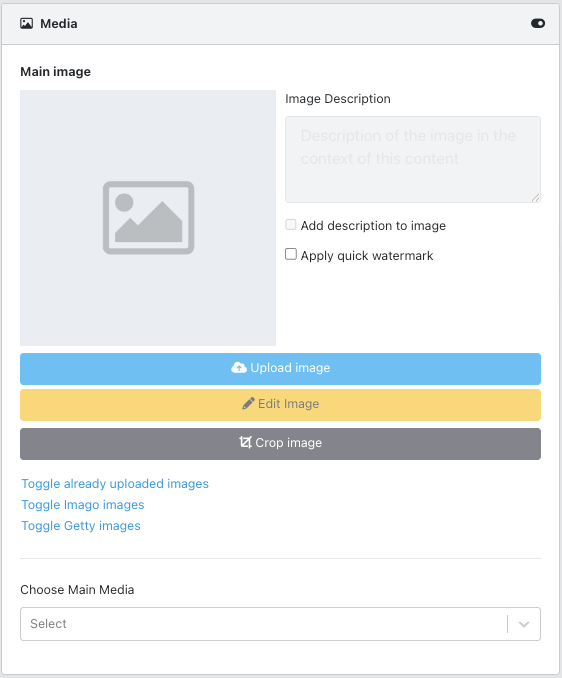
The Main image is the image that will appear as the header (or main media) of your article.
2. If you want to upload new main image(s), select Upload new images.
3. To choose from already uploaded images to the system, select Toggle already uploaded images.
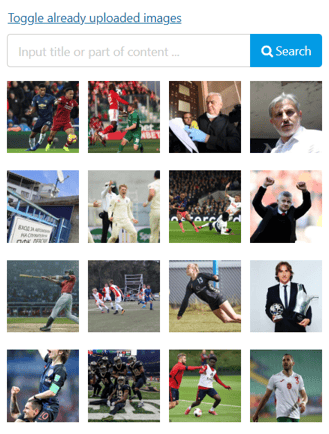
3.1. To choose from Imago/Getty images, select Toggle Imago/Getty images.

NB: In order to have the Imago/Getty images available, an additional feature needs to be enabled for your project, which you can request.
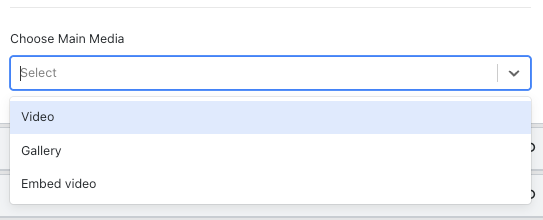
4. To change the main media of an article to a video or gallery, expand the Choose Main Media box and select from the options.
Note that once you select an image as the main media, you can crop it by selecting Crop image.
Tags Tab
Under the Tags tab, you can optimize an article with a tag you have created, as well as football connections suggested by the system.
To optimize your article with tags:
-
Expand the Tags tab.
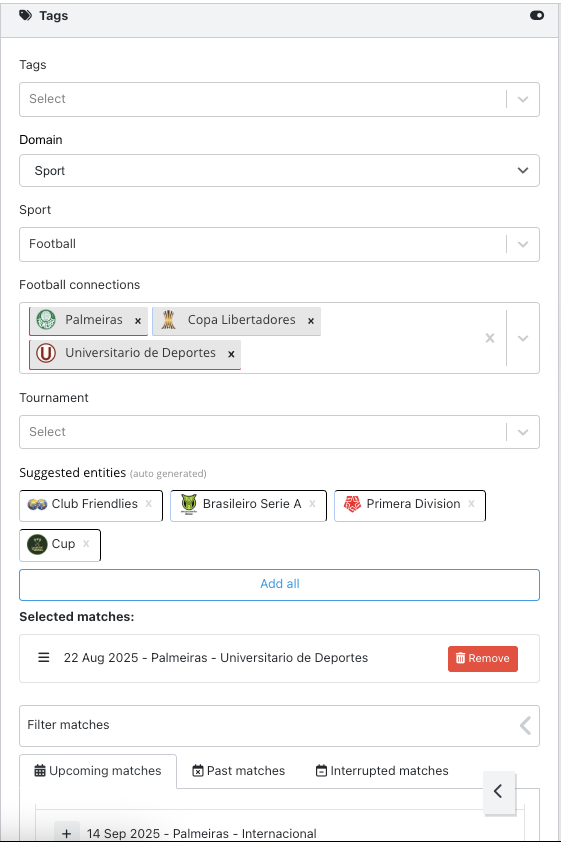
2. In the Tags box, enter a tag(s) you have already created in the system.

3. To tag an article with football connections, go to the Football Connections box and select the recognized entity suggestions you want to tag your article with.
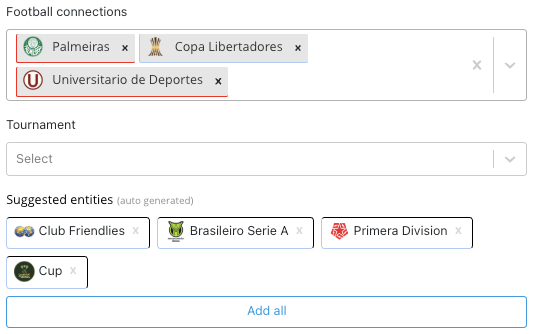
Note that you can tag your article with football connections either by adding all suggestions or only the ones you desire.
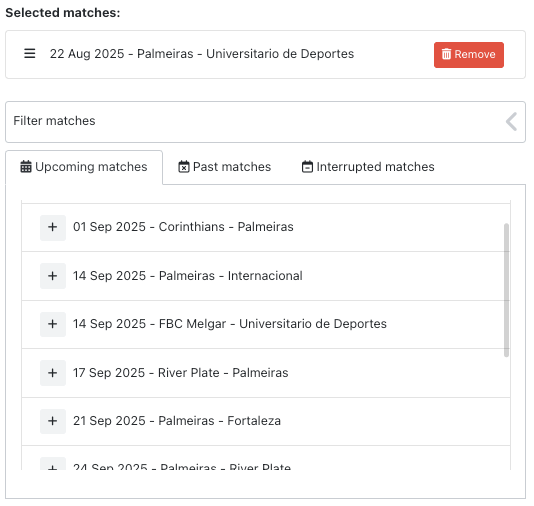
Once you enter football connections, the system will suggest relevant past/upcoming matches to connect to your article.
4. To add relevant matches, select either the Upcoming matches or Past matches tabs. Then click on the + sign to select a match.
Related content
The Related content tab lets you select and include additional reading to your post, and is directly connected to the football connections used in the Tags tab.
You can either add suggested videos, galleries, and articles to your post or search for related content.
To add related content to your post:
-
Expand the Related content tab
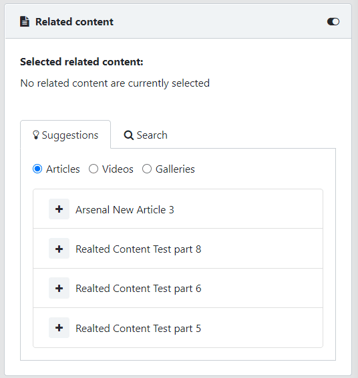
2. Under the Suggestions tab, select a content type you want to add as related content i.e. Articles, Videos, or Galleries.

3. Next, choose an article, video, or gallery and select the + sign to add it as related content.
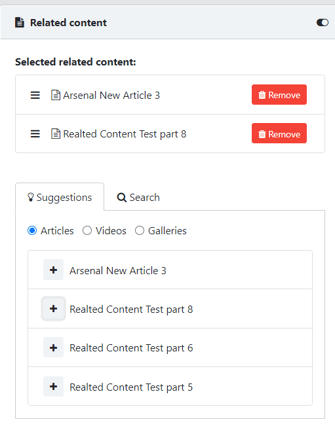
4. If you want to manually find an article, video, or gallery to add, select the Search tab and enter the title of the content you are looking for.

URLs Tab
By optimizing the URLs tab of an article, you tell search engines whether to index your article or not. This feature is especially helpful in cases such as advertising campaigns and duplicated content.
To optimize your article’s URLs tab:
-
Expand the URLs tab.
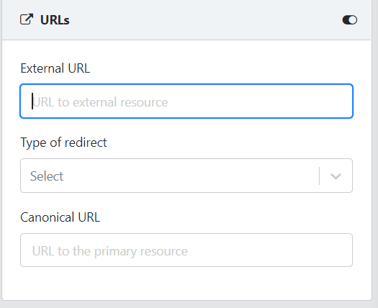
2. In the External URL box, paste the URL to an external source you want to send users to.

3. Next, expand the Type of redirect to select if you want your redirect to be permanent/temporary.

4. Lastly, if you want to avoid duplicating content, select the Canonical URL box and paste the preferred URL you want search engines to index.
SEO Tab
The SEO property will help optimize your article so it is easy to discover online.
To optimize your article’s SEO tab:
-
Expand the SEO tab.
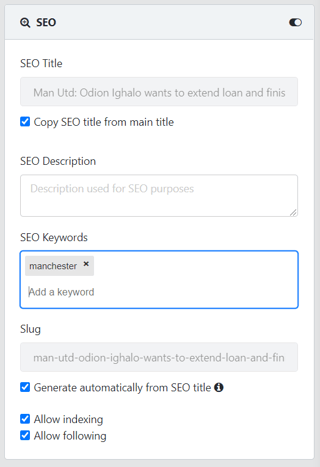
2. If you want to write an alternative title, enter it in the SEO Title box.
3. If you want the SEO title to match that of your category’s main title, select Copy SEO title from the main title.

4. Next, enter a description in the SEO Description box.

5. To further describe your article, enter keywords in the SEO Keywords box.

6. Use the Slug box to enter a custom slug or generate a slug from your article’s SEO title.

7. Lastly, if you want your article to be indexed/followed, select Allow indexing and Allow following.

Lists Tab
List is a feature that lets creators add the article, video, or gallery they are working on to a list of articles (videos or galleries) grouped under certain criteria to appear in a specific position on your website.
To add your article to a list:
-
Expand the Lists tab.
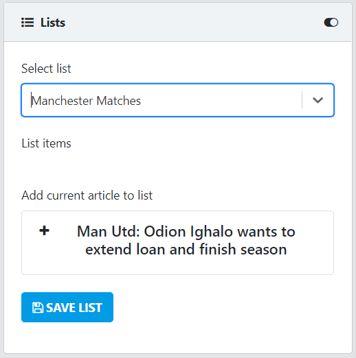
2. In the Select list box, select the list you want to add your article to.

After you select a list, list items will open. Note that if the list you want to add your article too is empty, no items will display.
3. To add your article to the list you’ve selected, go to Add current article to list > +.
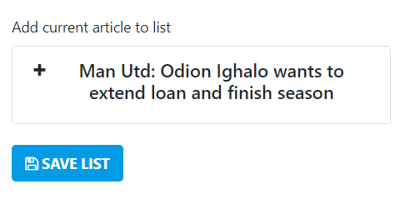
4. When done, select Save List.
Custom Tabs
To import any type of data in JASON format into your article, follow the steps:
-
Expand the Custom data tab.
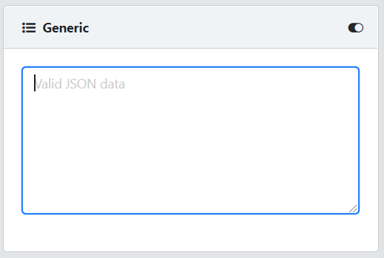
2. Paste valid JASON data in the box.
