How to add a new Author
This is a step-by-step guide on how to add an author in Sportal365.
Preconditions
Before you start adding an author, you need to make sure the role you have been assigned in the system has the right permissions.
To be able to add a new author in the system, you need to have enabled the following permissions for your profile:
-
read_authors
-
write_authors
-
delete_authors
To learn how to find your permissions, see Roles and permissions
Adding an author
Follow the steps below to learn how to add and save an author.
Note that to create and save an author in the system, entering a Name is mandatory.
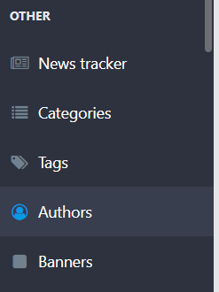
1. From the main navigation, select Authors.

2. When the author listing screen opens, select New Author.

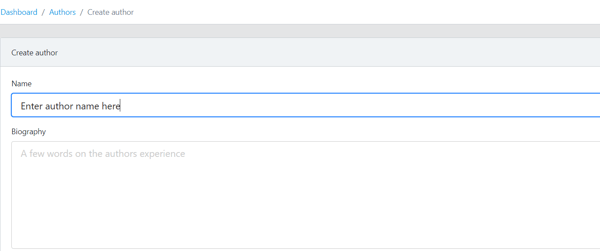
3. Next, enter an author's name and short bio in the Name and Biography boxes.

Remember, entering an author's name is mandatory for creating an author.
4. To upload the author's avatar picture, select Choose file.

5. [Optional] Fill out any social media links that you want to be available for the said author:

6. Select Is Default if you want the newly created author to be assigned as default to your posts.

7. Select Is Active if you want to be able to source future posts with the newly created author.
8. When done, select Save Author.