Creating a category can be viewed as a two-step process. First, you need to create and save your category, and then optimize it with the content properties available.
Preconditions
Before you start creating categories, you need to make sure the role you have been assigned in the system has the right permissions.
To be able to write, read, and delete categories, you need to have enabled the following permissions for your profile:
-
read_admincategories
-
write_admincategories
-
delete_admincategories
To learn how to find your permissions, see Roles and permissions
Creating a category
Follow the steps below to learn how to create categories.
Note that to create and save a category in the system, entering a Title is mandatory.
1. From the main navigation, select Categories.
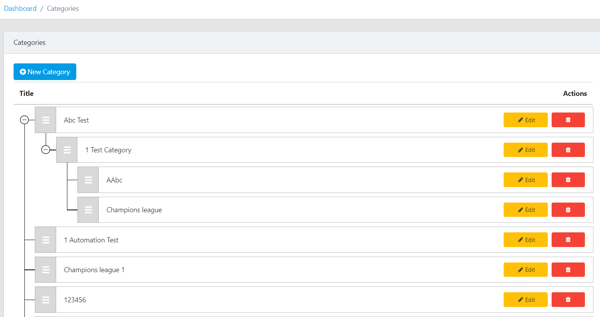
2. When the categories listing screens open, select New Category.
3. Next, enter a category title and description in the Title and Description boxes.
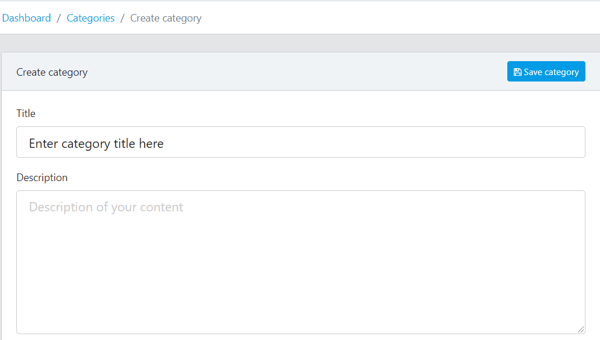
Remember, entering a category title is mandatory for creating a category.
4. Lastly, select the Is Active check box to be able to use the category in your content.
5. When done, select Save Category to save your work.
Note that if you want to change the order of categories you have created, or arrange several categories under a hierarchical tree, simply drag/drop categories under one another, and vice versa.