Scheduled lists elevate the traditional editorial lists by introducing time-bound content. Whether it's articles, videos, galleries, or live blogs, you control when each item appears and when it exits the list. Perfect for aligning with events or timed campaigns, this feature automates your content's visibility based on the schedules you set.
For instance: If you're gearing up for the World Football Cup, schedule related content in advance for a hassle-free experience.
Key Benefits:
- Streamlined publishing
- Time efficiency
- Enhanced content strategy
Creating a scheduled list
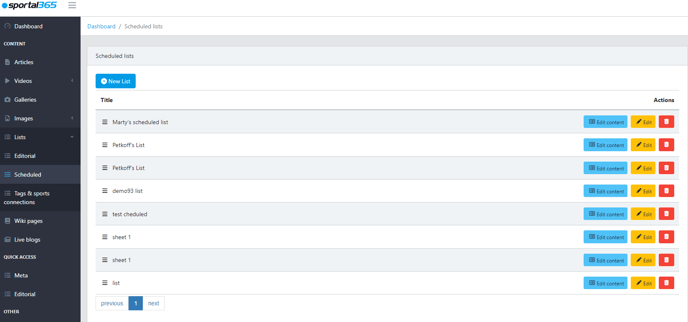
Step 1: Initiate a new list
Navigate to: Lists > Scheduled > New list.
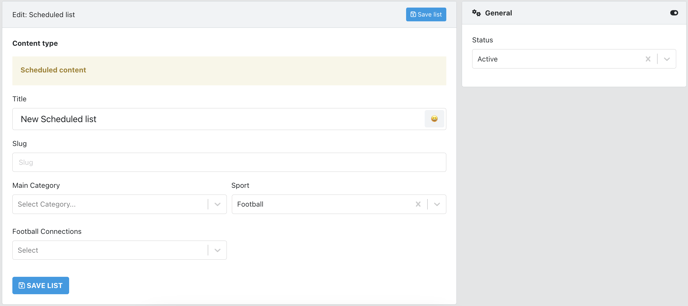
Step 2: Fill details and save
Complete the required fields and choose Save list.
Adding & scheduling content
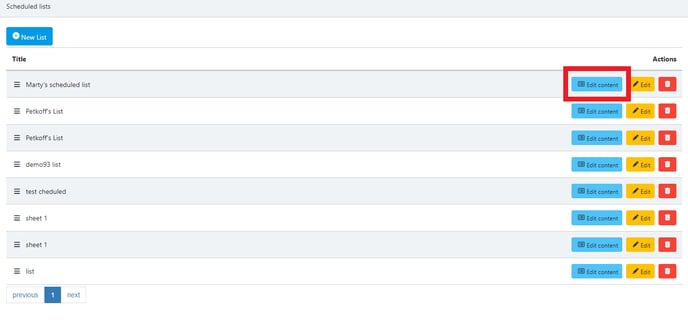
Step 1: Access content editor
Click on your desired list, then select Edit content.
Step 2: Choose the content type
Pick whether you're adding articles, videos, galleries, or live blogs.

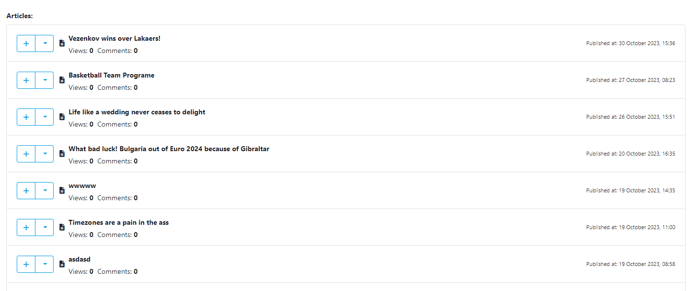
Step 3: Add items
Use the + symbol to populate your list with content.
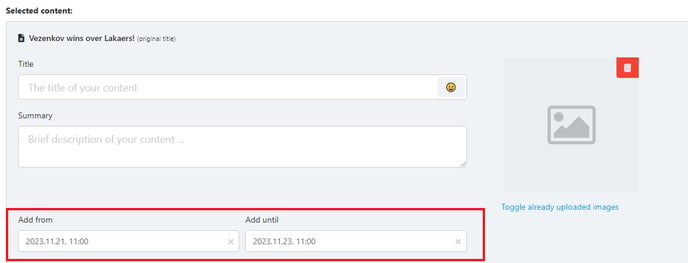
Step 4: Customize display details (Optional)
For each item, you can modify the title and summary to better fit the context of your list by selecting Edit.
Step 5: Set display duration
Determine the active period for each content piece within the list.
Step 6: Confirm changes
Ensure all your modifications are saved by selecting Save.
Considerations
- Currently, this feature is not mobile-optimized.
- Availability is contingent on client requests.